Making Acrylic Paint Stick to Metal: A How-To Guide
Painting metal surfaces with acrylic paint can transform ordinary objects into vibrant works of art or refresh industrial items with a new coat of color. However, getting acrylic paint to adhere properly to metal requires careful preparation and specific techniques. In this comprehensive guide, we’ll walk you through every step necessary to ensure your acrylic paint project on metal surfaces is a success, including how long does acrylic paint take to dry.
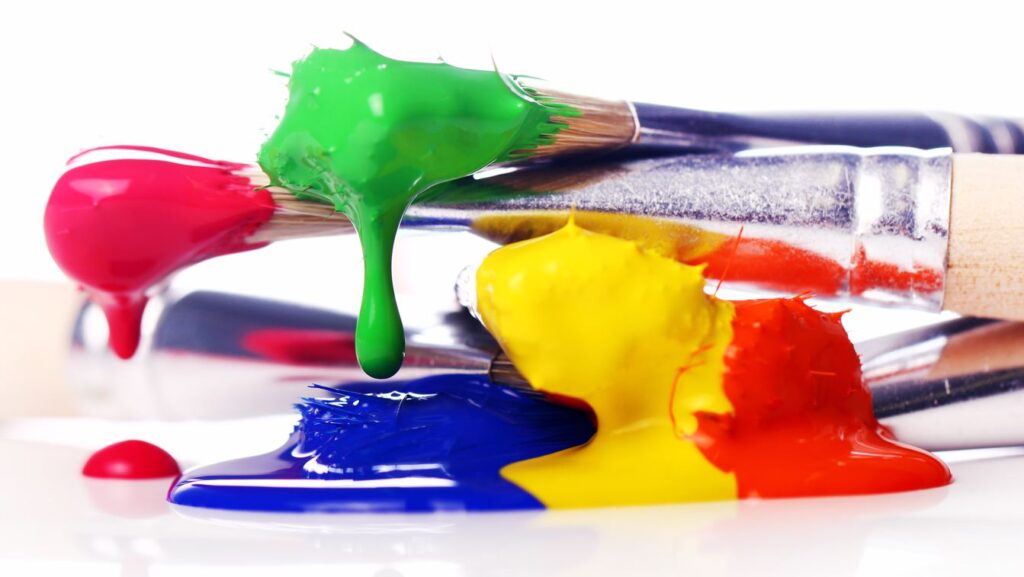
Why Choose Acrylic Paint for Metal?
Acrylic paint is favored for its versatility, ease of use, and vibrant color options. Unlike oil-based paints, acrylics dry quickly and can be cleaned up with water, making them a convenient choice for both professional artists and DIY enthusiasts. Acrylic paint is also durable and flexible once dry, which helps it withstand the expansion and contraction of metal surfaces without cracking or peeling.
Preparing Metal Surfaces for Painting
Proper preparation is crucial for achieving a smooth, long-lasting paint finish on metal. Follow these steps to prepare your metal surface:
Cleaning the Metal
Start by cleaning the metal surface thoroughly to remove any dirt, grease, or oil. Use a mixture of water and mild detergent, and scrub the surface with a brush or sponge. Rinse with clean water and allow the surface to dry completely.
Removing Rust and Old Paint
If the metal surface has rust or old paint, you’ll need to remove these before painting. Use a wire brush or sandpaper to scrub off rust and peeling paint. For stubborn rust, consider using a rust remover solution. Always wear protective gloves and work in a well-ventilated area when dealing with rust removers.
Sanding the Surface
Sanding the metal surface creates a texture that helps the paint adhere better. Use medium-grit sandpaper to lightly sand the entire surface, then wipe away any dust with a damp cloth.
Applying a Primer
Priming the metal is essential for good paint adhesion and longevity. Choose a primer designed for metal surfaces, preferably one that is compatible with acrylic paint. Apply the primer in thin, even coats and allow it to dry according to the manufacturer’s instructions.
Choosing the Right Acrylic Paint
Not all acrylic paints are created equal, and choosing the right type is crucial for your project’s success. Look for high-quality acrylic paints specifically formulated for use on metal. These paints offer better adhesion and durability compared to regular acrylics.
Types of Acrylic Paints
- Artist-grade acrylics: These paints offer high pigmentation and vibrant colors, making them ideal for artistic projects.
- Craft acrylics: These are more affordable and come in a wide range of colors, suitable for DIY and craft projects.
- Exterior acrylics: Formulated to withstand outdoor conditions, these paints are perfect for metal surfaces exposed to the elements.
Paint Finishes
Acrylic paints come in various finishes, from matte to glossy. Consider the look you want to achieve and choose a finish that complements your project. Glossy finishes are often more durable and easier to clean, while matte finishes can give a sophisticated, understated look.
Applying Acrylic Paint to Metal
With your metal surface prepped and your paint selected, it’s time to start painting. Here’s how to do it:
Tools and Materials Needed
- High-quality acrylic paint
- Paintbrushes or foam brushes
- Paint roller (for larger surfaces)
- Painter’s tape (for masking areas)
- Drop cloth or newspapers (to protect your work area)
Painting Technique
- First Coat: Begin with a thin, even coat of paint. Avoid applying too much paint at once, as this can lead to drips and uneven coverage. Use smooth, even strokes and follow the direction of the metal’s grain, if applicable.
- Drying Time: Allow the first coat to dry completely before applying additional coats. Drying times can vary based on the paint type and environmental conditions, so refer to the paint manufacturer’s recommendations.
- Additional Coats: Apply 2-3 thin coats for the best coverage and durability. Ensure each coat is fully dry before applying the next.
Detail Work
For intricate designs or fine details, use smaller brushes and take your time. Acrylic paint can be thinned with water to achieve different effects and consistency, making it a versatile choice for detailed work.
Sealing and Protecting Your Painted Metal
Once your painting is complete and fully dry, sealing the paint will help protect it from wear and environmental factors.
Applying a Sealant
Choose a clear acrylic sealant compatible with your paint and metal surface. Apply the sealant in thin, even coats, allowing each coat to dry thoroughly before applying the next. For best results, consider how long it takes for acrylic paint to dry, as a sealant will help protect the paint from chipping, fading, and damage from moisture or chemicals.
Common Mistakes to Avoid
Avoid these common pitfalls to ensure your project turns out perfectly:
- Skipping Primer: Always use a primer to ensure better paint adhesion and durability.
- Applying Thick Coats: Thick coats can lead to drips and an uneven finish. Thin, even coats are key.
- Not Allowing Adequate Drying Time: Rushing the drying process can result in a poor finish and compromised durability.
Conclusion
Painting metal with acrylic paint can breathe new life into old objects or add a splash of color to any space. By following the steps outlined in this guide, you’ll ensure that your paint adheres properly and lasts for years to come. Remember to clean and prep your metal surface, choose the right acrylic paint and primer, apply your paint in thin, even coats, and seal your work for added protection. With these tips, you can confidently tackle your next metal painting project and achieve professional-looking results.